This is a Windows-developer-oriented blog post. Knowledge on universal Windows apps, Windows Runtime and C# are required to understand the topic. We always assume the context of a typical C#/XAML universal Windows app unless otherwise stated.
We are going to walkthrough the basic concepts of multiple windows in a universal Windows app. You will learn the first few important things in multiple-window apps.
Set things up
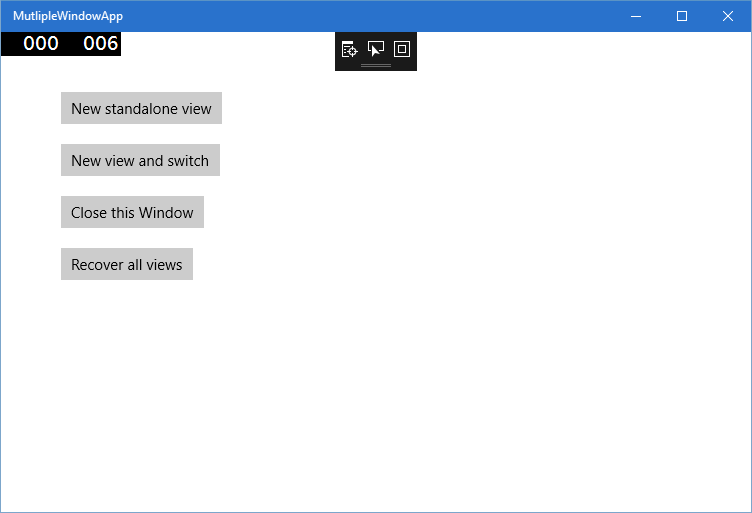
Launch Visual Studio 2015 and create a blank universal Windows app called MutlipleWindowApp, targeting Windows 10 build 10586 and requiring (minimum version) Windows 10 build 10240. Do not get the frame counter removed since we can use it to determine which view is the main view.
Next, go to MainPage.xaml and insert the following code into the Grid:
<StackPanel Margin="50">
    <Button Margin="10" Click="NewStandaloneView_Click">New standalone view</Button>
    <Button Margin="10" Click="NewViewSwitch_Click">New view and switch</Button>
    <Button Margin="10" Click="CloseView_Click">Close this Window</Button>
    <Button Margin="10" Click="RecoverViews_Click">Recover all views</Button>
</StackPanel>
Create a new view and show it in a standalone window
Now that we have basic UI to interact with, go to MainPage.xaml.cs and add the following methods to MainPage class:
private async void NewStandaloneView_Click(object sender, RoutedEventArgs e)
{
    var newView = CoreApplication.CreateNewView();
    int viewId = 0;
    await newView.Dispatcher.RunAsync(CoreDispatcherPriority.Normal,
        () =>
        {
            var frame = new Frame();
            frame.Navigate(typeof(MainPage));
            Window.Current.Content = frame;
            Window.Current.Activate();
            viewId = ApplicationView.GetApplicationViewIdForWindow(Window.Current.CoreWindow);
        });
    await ApplicationViewSwitcher.TryShowAsStandaloneAsync(viewId);
}
Of course you have to using some namespaces, they are Windows.ApplicationModel.Core, Windows.UI.Core and Windows.UI.ViewManagement. That code handles the event fired when you click the button that says ‘New standalone view’. This is the most common scenario when you want to use multiple views — the scenario where you actually shows multiple windows. Let’s stop and carefully study what happens here.
First, you call CoreApplication.CreateNewView method, this creates a new view and returns the corresponding CoreApplicationView object. Upon the return of this method, you are ready to populate content into that view.
Next, we set up a variable called viewId, which stores the id of the newly-created view.
Then the key point comes, we have to use the CoreDispatcher of the newly-created view to schedule a delegate to run. Why is that the case? Remember that there is a 1:1 pairing of UI threads and views, so there is no chance that the newly-created view is associated the thread creating this view. To access the view, one must marshal the things to the apartment of that view. In the delegate, we are doing things similar to what App.OnLaunched. We set up a Frame to hold the page to be displayed, and activate the Window (never forget this step or the content in that view will be stuck at the splash screen!). Finally we populate viewId with the id of the newly-created view. Remember that the delegate runs on the newly-created view’s UI thread, therefore Window.Current refers to the Window associated with that view.
Finally, when the call returns, we call ApplicationViewSwitcher.TryShowAsStandaloneAsync to show the view on a new window. On Windows 10 desktop devices, a new window is opened and the content in that view is displayed. On Windows 10 mobile devices, the screen is replaced with a new view (with animation) and if you hold the back button, you will see the original view in task switcher.
Handle the other click events
Handle the other click events with the following code:
private async void NewViewSwitch_Click(object sender, RoutedEventArgs e)
{
    var newView = CoreApplication.CreateNewView();
    int viewId = 0;
    await newView.Dispatcher.RunAsync(CoreDispatcherPriority.Normal,
        () =>
        {
            var frame = new Frame();
            frame.Navigate(typeof(MainPage));
            Window.Current.Content = frame;
            Window.Current.Activate();
            viewId = ApplicationView.GetApplicationViewIdForWindow(Window.Current.CoreWindow);
        });
    await ApplicationViewSwitcher.SwitchAsync(viewId);
}

private void CloseView_Click(object sender, RoutedEventArgs e)
{
    Window.Current.Close();
}

private async void RecoverViews_Click(object sender, RoutedEventArgs e)
{
    foreach (var view in CoreApplication.Views)
    {
        int viewId = 0;
        await view.Dispatcher.RunAsync(CoreDispatcherPriority.Normal,
            () =>
            {
                viewId = ApplicationView.GetApplicationViewIdForWindow(Window.Current.CoreWindow);
            });
        await ApplicationViewSwitcher.TryShowAsStandaloneAsync(viewId);
    }
}
Let me explain a bit:
- For creating a new view and switching to it, the code is essentially the same as creating a new view and showing as a standalone view;
- To recover all views, we iterate through all views in this application, asynchronously get the id and try to show the view as a standalone view.
Run the app
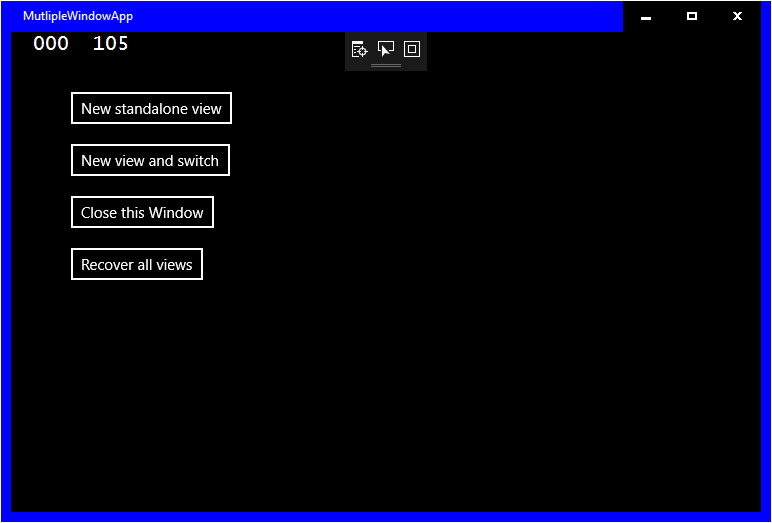
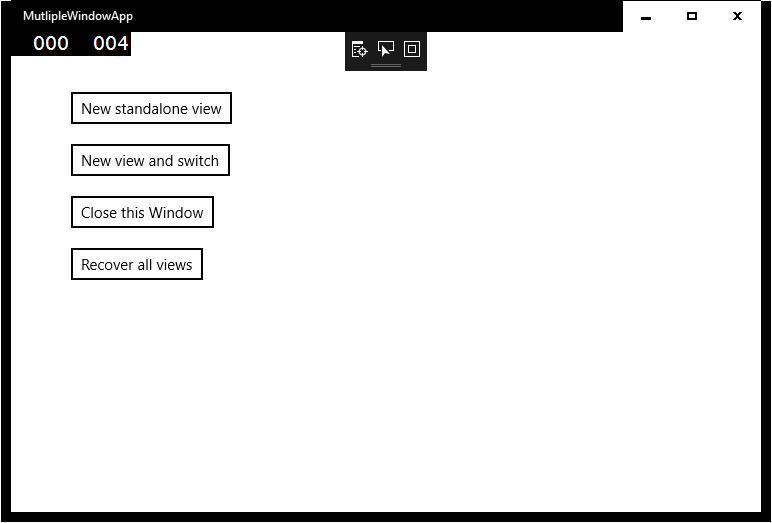
Now you can press F5 to run the app. It should look like the one on the right. There are several test paths that improves understanding of windows, app views and Windows.
Path 1
- Click ‘New standalone view’, you will see a new window poping out;
- The new view does not have frame counter;
- Click the close button (on the title bar) of the main view, the window is closed; (the main view consolidates at this point.)
- Click ‘Recover all views’ on the new standalone view, you will see the main view back;
- Click the close button of the new view, the window is closed; (the new view consolidates at this point.)
- Click ‘Recover all views’ on the main view, you will see the consolidated view back;
- Click ‘Close Window’ on the new view, you will see the window closed;
- Click ‘Recover all views’ on the main view, nothing happens.
Conclusion When a view consolidates, the corresponding Window object is not automatically closed and the view can be shown again.
If you want to free the resources managed by the Window once the view consolidates, you should subscribe to ApplicationView.Consolidated event (this is not a static event, subscribe to a specific view instead) and upon consolidation, close the Window.
Path 2
- (Optional) Click ‘New standalone view’;
- Click ‘Close Window’ on the main view, you will see an exception is raised on the main view’s UI thread.
Conclusion The main Window cannot be closed programmatically. You should never close the main Window.
This is especially important when you adopt the method said in the prior paragraph. If you subscribe to ApplicationView.Consolidated event and close the Window automatically, make sure you do not close the main Window.
Path 3
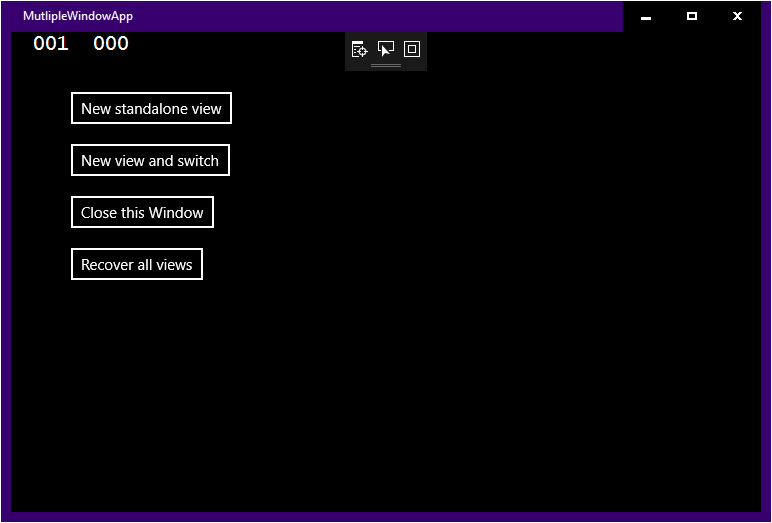
- Click ‘New view and switch’, you will see the frame counter disappearing;
- Click ‘Recover all views’, you will see the view with the frame counter reapprear on the screen.
Conclusion ApplicationViewSwitcher.SwitchAsync method replaces the current view in the current window with another view. Note that this method has several overloads and you can replace an app view (other than the calling thread’s view) in another window with a specified view.
This will be useful as we shall see later.
Path 4
- Click ‘New view and switch’;
- Click ‘Close Window’, you will see the app window minimized and chances are that when you restore the window, it shows instead the main view.
Conclusion This is due to the speciality of the main view. Simply, you cannot programmatically close all your Windows. If you try to close the main Window, an exception is thrown and your app crashes. You cannot really close the last view on screen. Note that in Windows 10, the app will be closed if the last view is consolidated by user. The behaviour seems not to be affected by ApplicationView.TerminateAppOnFinalViewClose. See this documentation on MSDN for more information on the behaviour introduced in Windows 8.1.
A workarond is to call Application.Current.Exit() to close the app programmatically. This is also the only certified way to close your app by code. However, the call immediately terminates the app without suspending it. Therefore the thing easily gets crazy (as the management of the app lifetime is broken) if you really call this method when you have to save states.
Summary
Through this experiment, we find that:
- The views can be switched or shown in a new window by calling into
ApplicationViewSwitcher; - The main view is special and exists through out the app’s lifetime;
- When an app view consolidates, the corresponding
Windowis not automatically closed and the view can be shown again; - Closing the main
Windowthrows an exception; - The non-main views can be consolidated programmatically by calling
Window.Current.Close(), however, if the last view on screen cannot be gracefully consolidated programmatically.
The behaviour of calls into ApplicationViewSwitcher methods is not fully described in this blog post, nor is it in the MSDN documentation when the post is first written. The best practice is to read the documentation, do experiments with it and see what happens. After these, you should be familiar with creating and managing app views in a simple manner as well as deepen the understanding of windows, app views and Windows.
Please enable JavaScript to view the comments powered by Disqus.